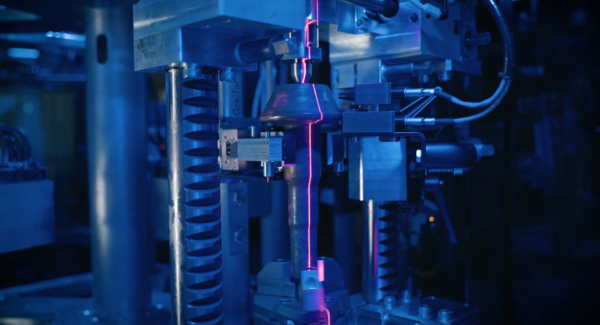
senswork's 3D inspection camera system improves the quality of gear shafts in harsh environments.


Inspection systems for 3D evaluation of surfaces, geometry, position and completeness
Whether completeness checks, position detection or surface inspection - the processing of 3D image data brings numerous advantages compared to 2D
senswork develops high-resolution optical 3D inspection systems for quality assurance and inspection automation in industry. As a manufacturer-independent supplier, we select the best suited 3D hardware for your application at all times.
Learn more about our offer in the field of 3D measurement systems and 3D metrology.
3D automated inspection systems are texture-independent, and in many cases can add reliability and robustness to your inspection process.
Examples:
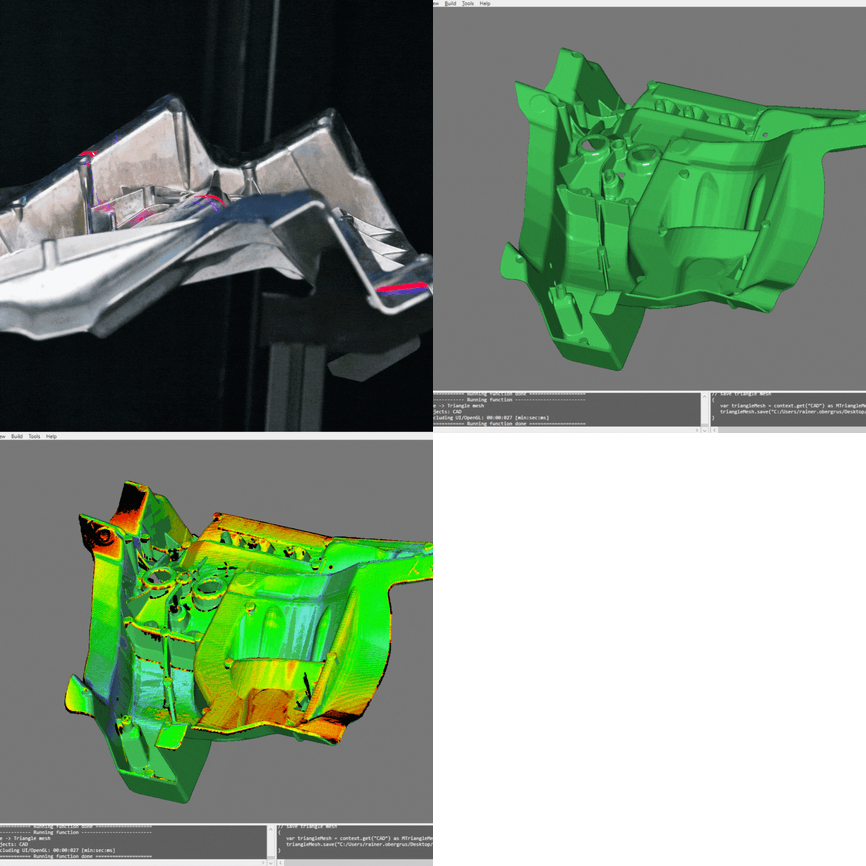
3D CAD comparison to detect shape deviations
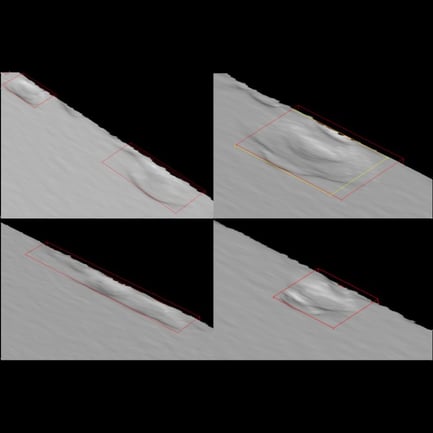
3D surface damage detection
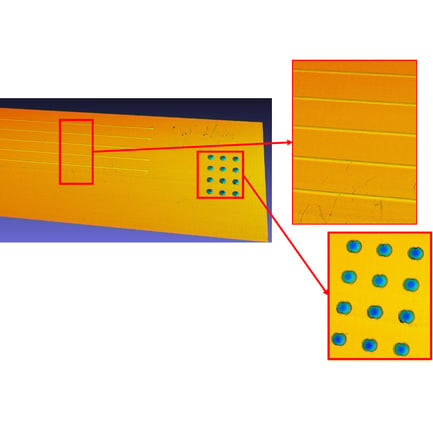
3D inspection and measurement of adhesive joints
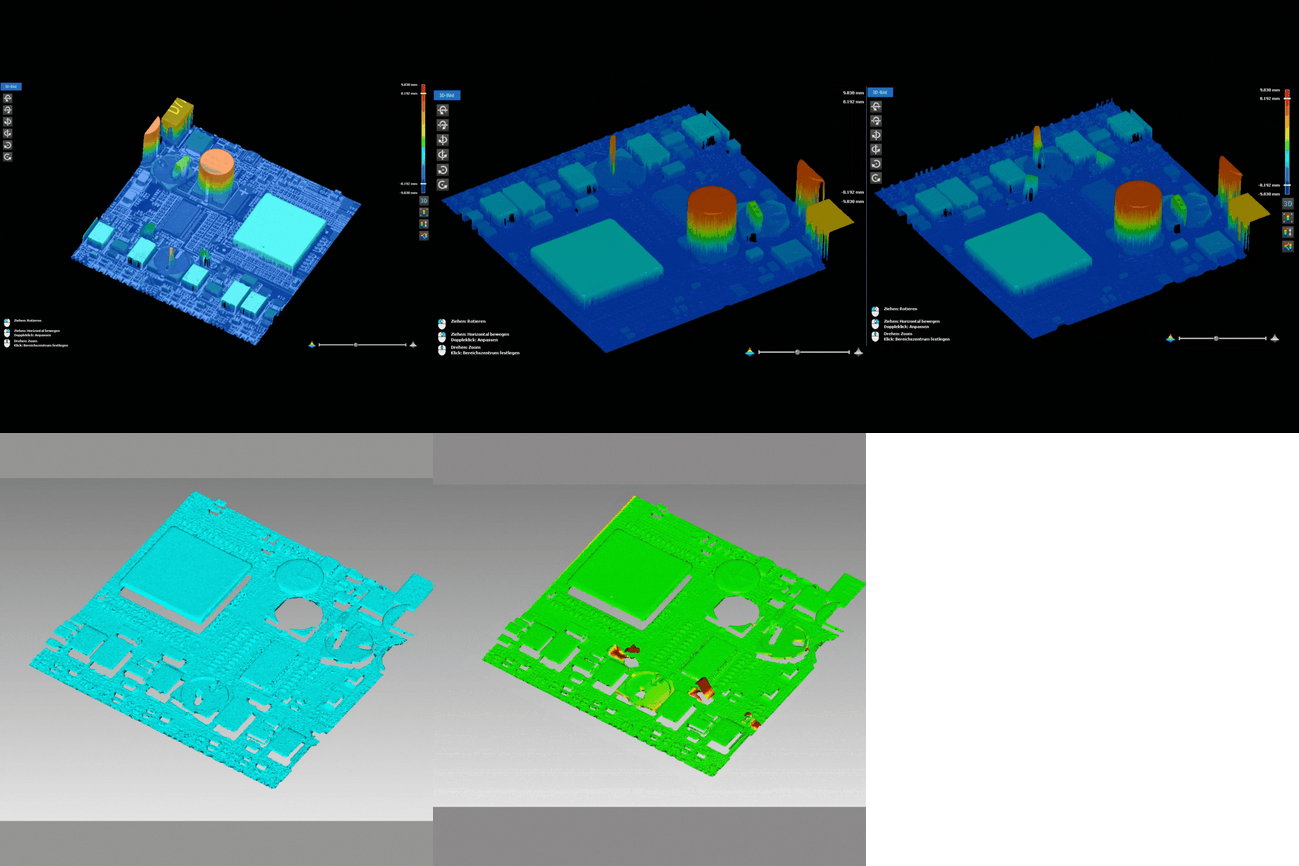
3D detection of missing or incorrectly placed components
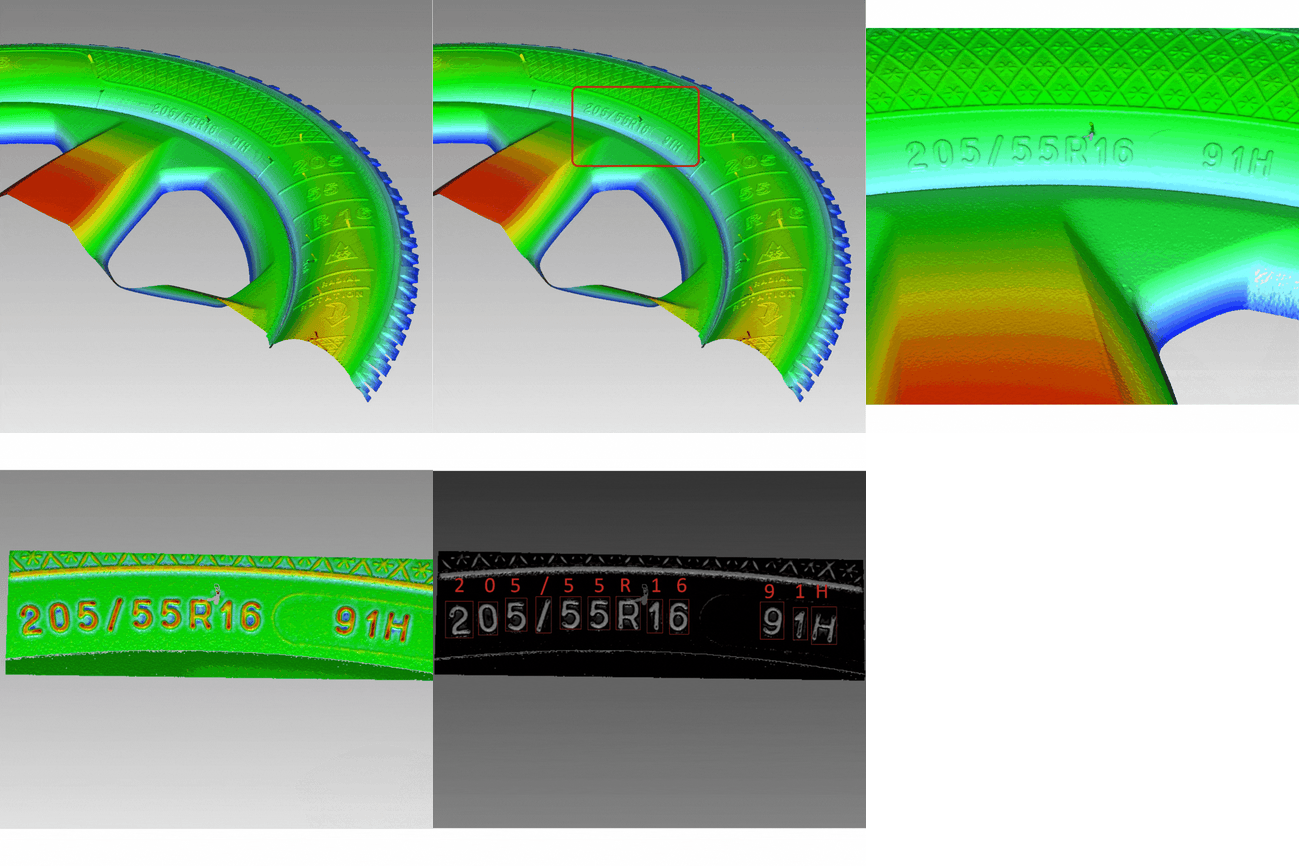
3D OCR for raised marking on tires, castings or ceramics
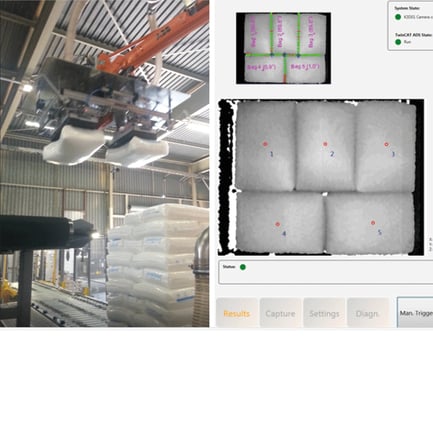
3D position detection for depalletizing applications
3D laser scanners use the principle of triangulation. A laser line is projected onto the surface of the part and a laterally angled camera captures the path of the line in the camera image. Appropriate calibration procedures are used to create a metrically correct section through the part. By moving the scanner or the part, a complete 3D image of the surface is captured.
senswork has been committed to the principle of 3D laser scanning for many years, and with systems such as ZScan® has perfected the use of multiple scanners within one system with free spatial arrangement through sophisticated calibration procedures.
3D laser scanning is suitable for inspecting and measuring large parts, continuous material such as continuous cast profiles or strip material, and is generally more robust on different surfaces than streak light projection systems.
The use of AI and Deep Learning tools to process 3D point clouds, while still relatively new, offers significant advantages for automated 3D optical inspection of components.
Until now, the conversion of 3D point clouds into so-called range images has been a common method for processing 3D data using Deep Learning. One disadvantage, however, is that the 3D data set must be reduced to a specific perspective. With Neuralyze®, it is now possible for the first time to process complete 3D point clouds in the function modules "classification", "object recognition" and "semantic segmentation".
A real-world application example for senswork Neuralyze 3D can be found in the inspection of laser-welded hairpins of electric motor stators in the automotive industry.


senswork's 3D inspection camera system improves the quality of gear shafts in harsh environments.
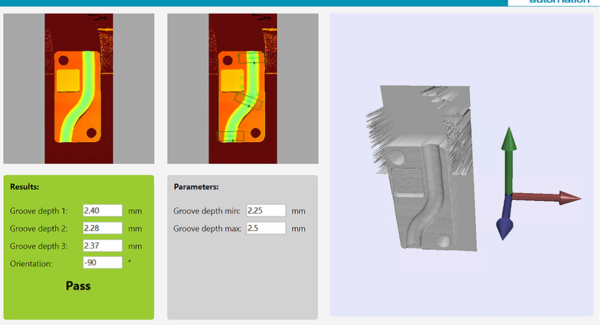
Discover the advantages of our 3D laser scanner, which ensures the product quality of polymer parts in high volume.
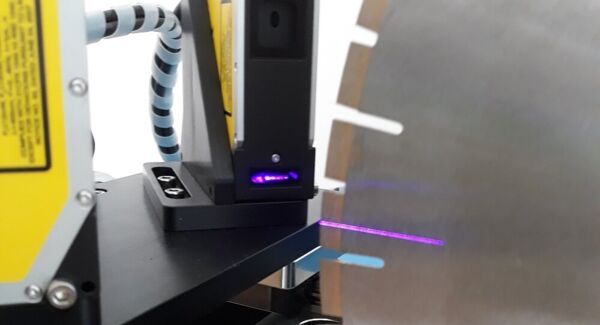
The camera system detects deviations on saw blades and measures parameters relevant for cutting quality and lifespan.
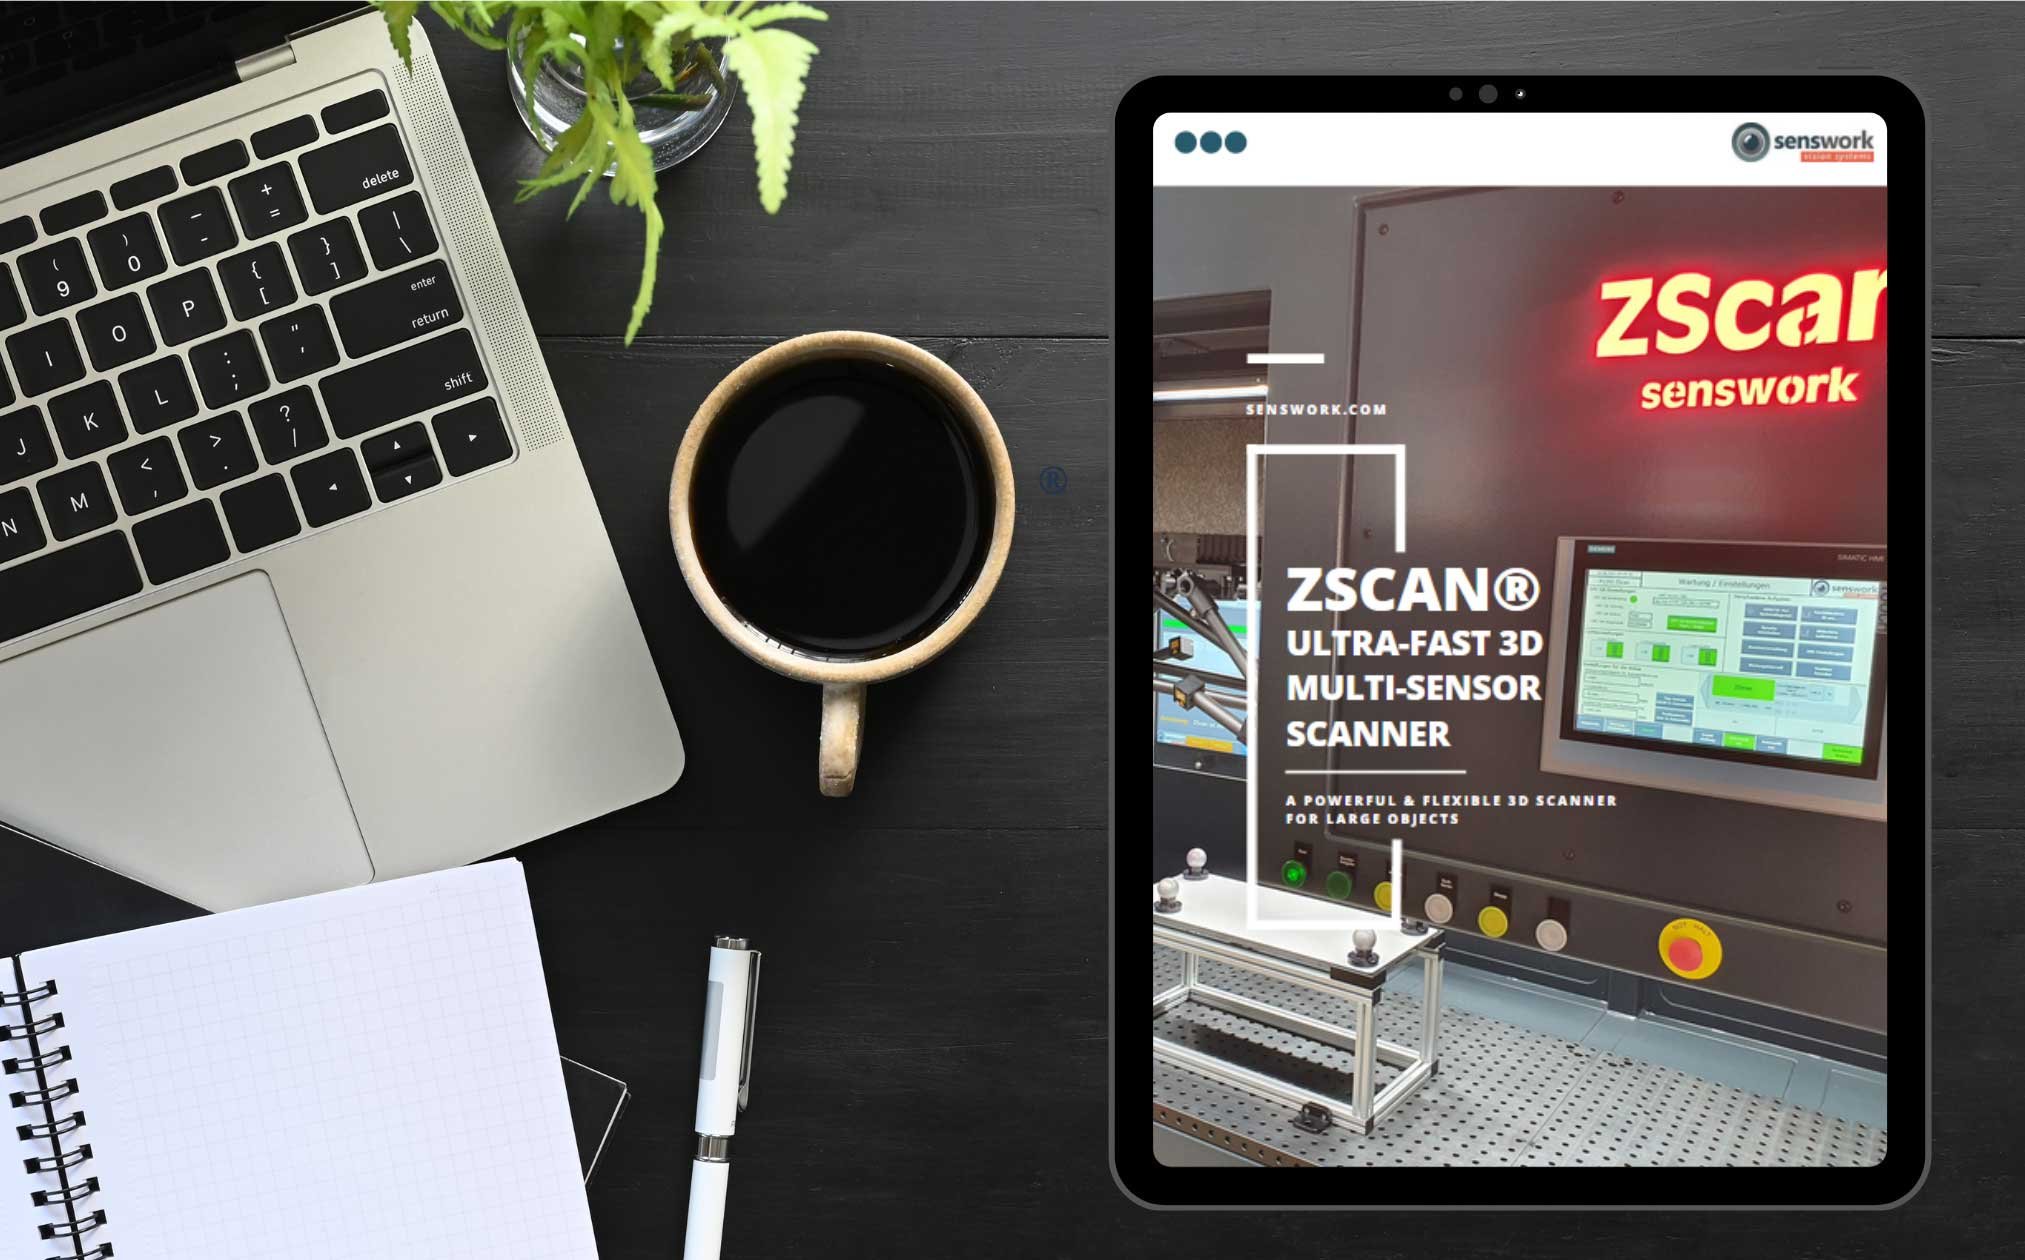
Product Guide

Rainer Obergrussberger
CEO
Business Development
senswork Inc.
2109 West Market Street, Suite 141
Johnson City, TN 37604
Contact us!
